How To Edit Wedding Photos Like a Pro
- WorkflowCull → Lightroom import → global WB/exposure → sync → local polish → export → back up
- Look & feelTrue-to-life color, clean contrast, timeless across prep to dance floor
- RAW vs JPEGAlways RAW for latitude in highlights, shadows, and skin tones
- Skin tonesNeutral WB, adjust Temp/Tint, refine orange/red HSL gently
- ConsistencyAnchor edit → preset → sync by scene, adjust outliers
- Low-lightCareful exposure lifts, denoise before sharpening, subtle luminance NR
- Delivery & backupsRGB JPEGs (web/print) + 3-2-1 backups (drive, clone, cloud)
After the wedding, is when all the magic happens to the photos. This post will give you a behind-the-scenes look at my editing process and all the steps I take to ensure the wedding photos are perfect. I’ll start with 10 time-saving tips in Lightroom to speed up your workflow.
These are some Lightroom tips I use that will help me expedite my editing process and streamline my workflow because every second counts when editing wedding photos in Lightroom. These tips will help me make the most of my time in Lightroom and produce stunning, polished images for my clients, from using a specialized console like LOUPEDECK+ to utilizing Lightroom presets and keyboard shortcuts.
If you want to save some time on Loupedeck download my Lightroom Direct Flash Presets by clicking the button below.
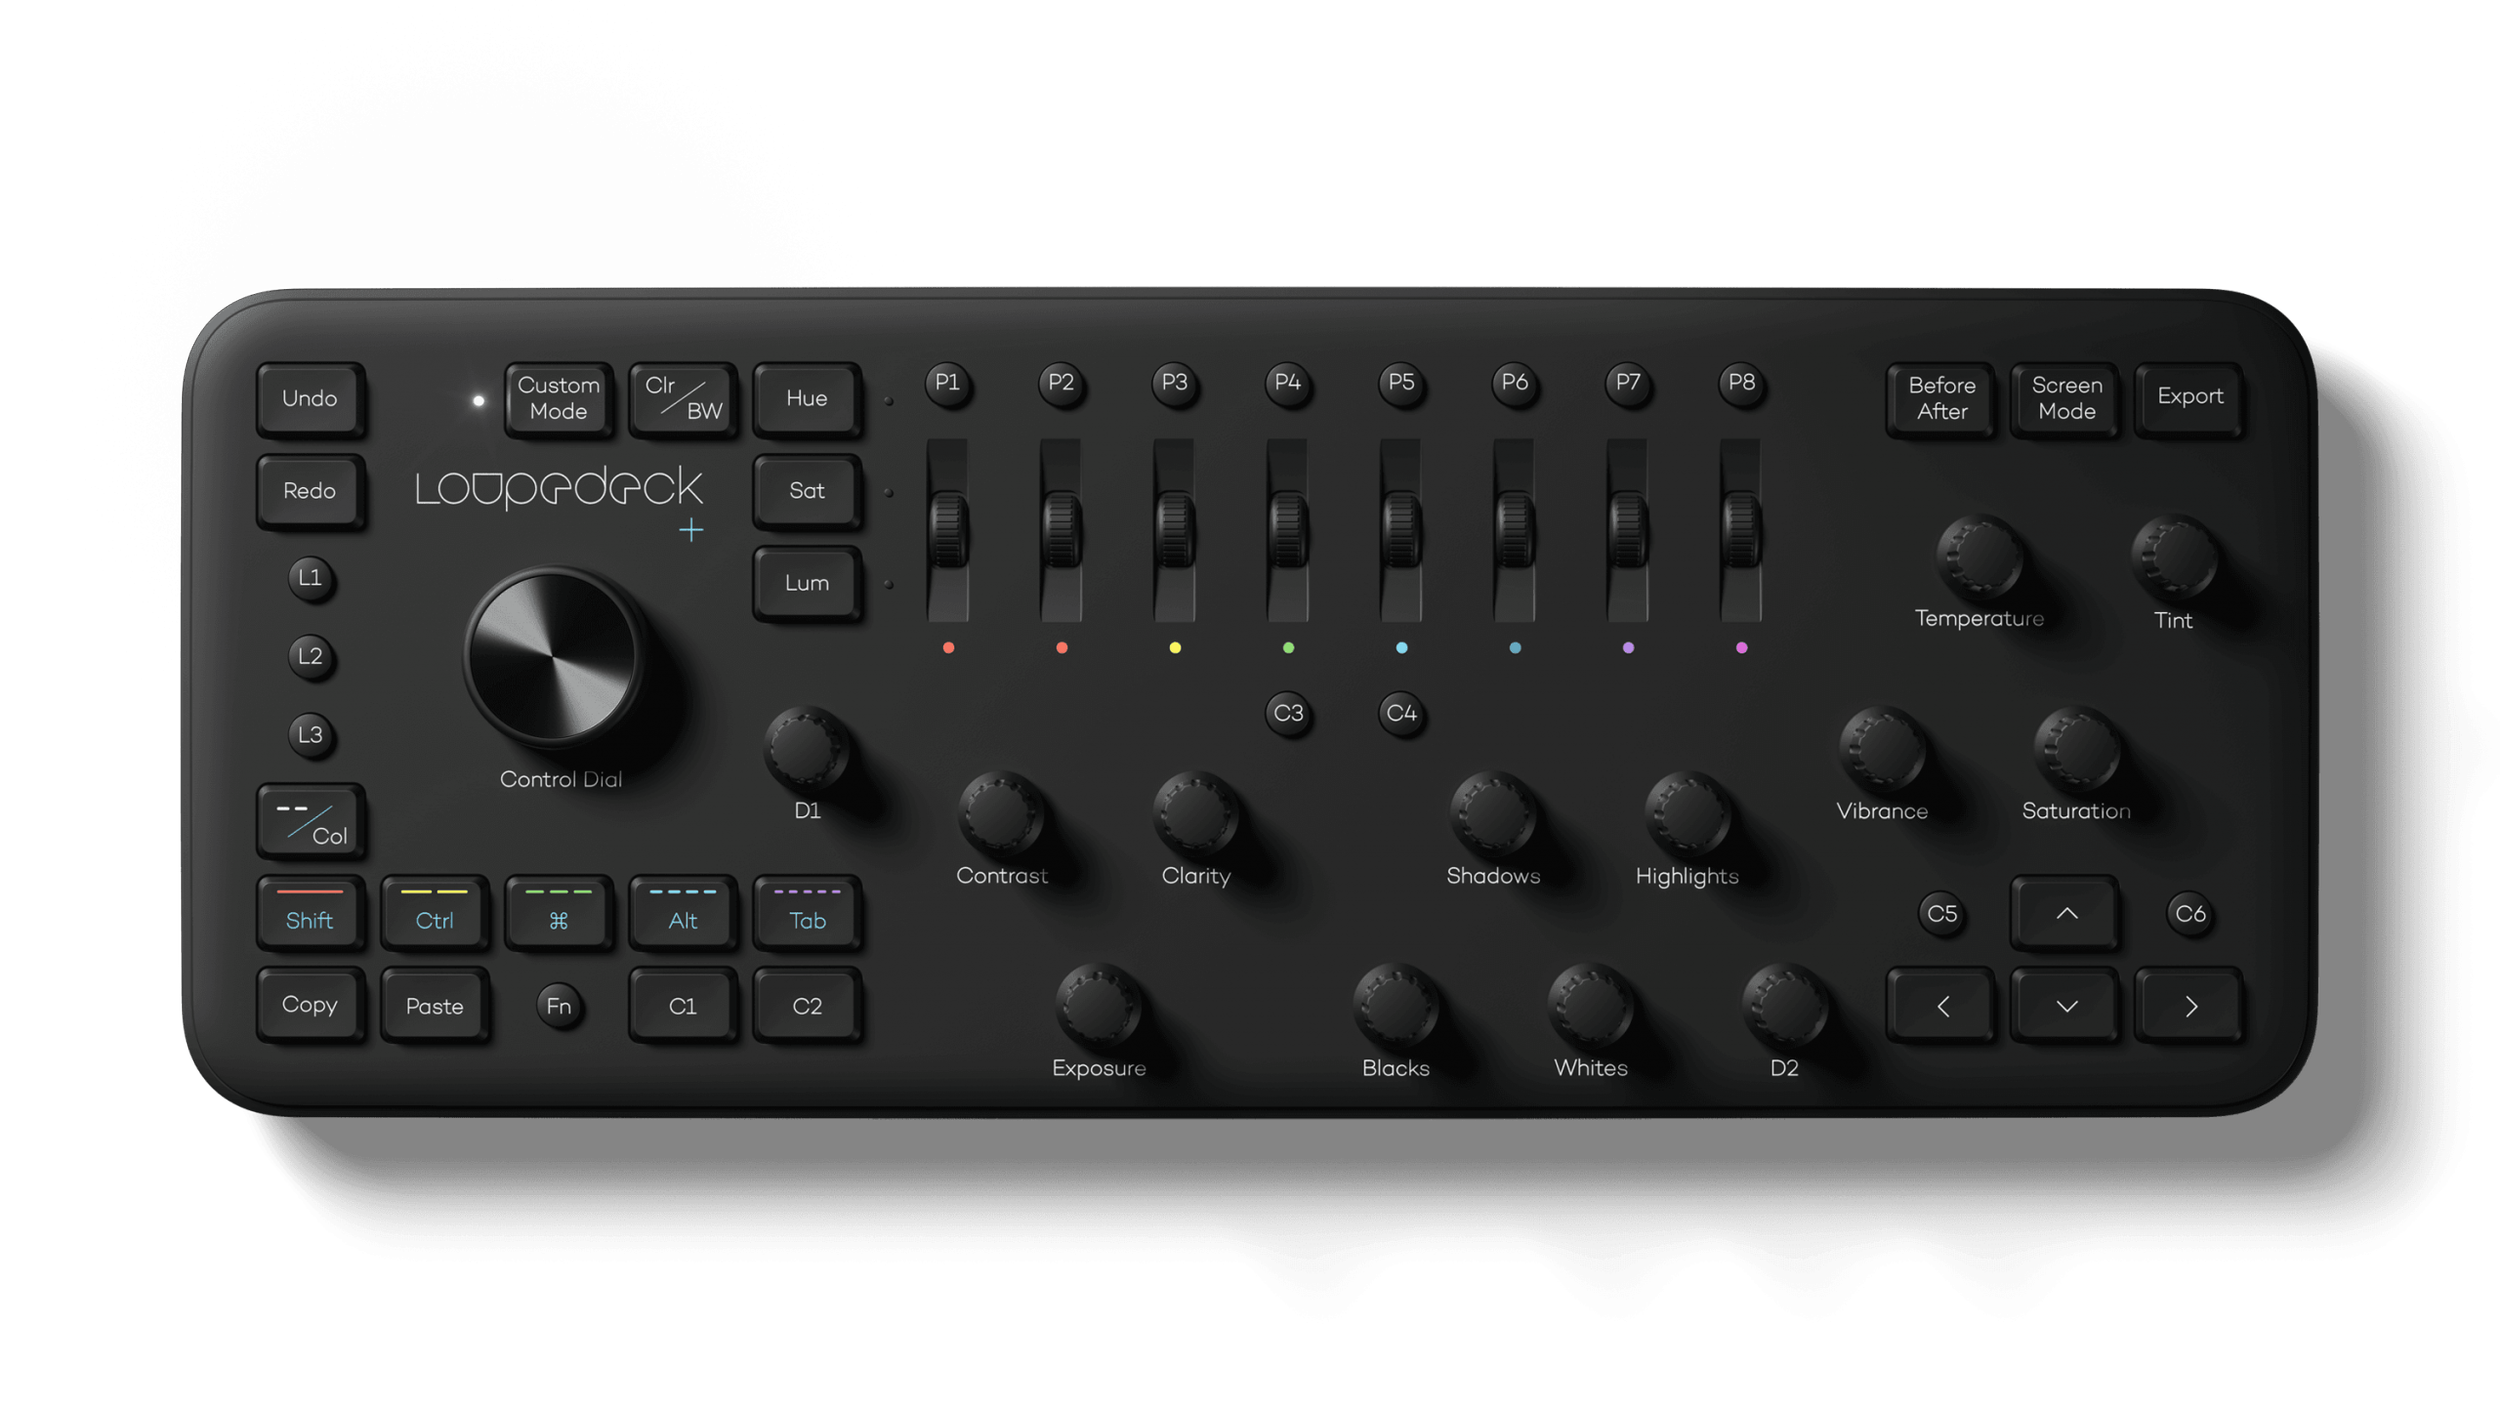
1. A specialized console like LOUPEDECK+ can shorten the time it takes to edit a photo in Lightroom. In Lightroom, I can quickly change exposure, contrast, and color balance without frequently navigating through menus and submenus. Thanks to the customizable buttons and dials, I can design shortcuts to edit your wedding photos more quickly.
2. I have increased the cache size in Lightroom by visiting the preferences page. Enabling the program to store more data in memory will help the program run more quickly.
3. I use the graphics processor and have done this by activating the "Use Graphics Processor" option in Lightroom's preferences. En enabling the program to use my computer's graphics card without slowing its performance.
4. I use a fast hard drive: I switched to an SSD hard drive from a conventional one. Since SSDs access data much more quickly, Lightroom can access my wedding images fast.

5. I prefer the Lightroom Classic Develop module instead of the Lightroom Develop module because it is quicker and more capable.
6. I use Lightroom Presets - Using presets in Lightroom is a great way to streamline my workflow. I can apply my styles to photos quickly because I have created my own lightroom presets.
7. I have learned a lot of keyboard shortcuts to speed up my navigation of Lightroom. The program has a variety of keyboard shortcuts that you can use. C for the crop tool, D for the Develop module, and Shift + Tab to hide the side panels are a few examples.
8. I use the "Sync" function to quickly edit a batch of related photos by applying the same adjustments to multiple pictures.
9. "Auto" button: If I’m unsure where to start with your adjustments, Lightroom's "Auto" button can save me a lot of time. It will automatically adjust the exposure, contrast, and other fundamental settings before letting me make further adjustments to the image.
10. When editing wedding photos in Lightroom, using smart previews can help me save a lot of time. Smaller versions of my original photos that you can edit in Lightroom, even if the originals aren't currently on my computer. I make smart previews by selecting all the photos from the wedding in Lightroom's Library module. Then, I click on "Build Smart Previews" from the context menu when selecting a set of images.
How To Backup Wedding Photos
I back up your wedding photos in two different ways on the night of the wedding. One back is the offline backup process, and the other way I back up the files is on a could service like box.com or dropbox.com.
The first hard drive is a working drive. The type of hard drive I prefer to work on is an SSD Scandisk hard drive. I like this drive because there are no moving parts, and they read and write quickly.
On this hard drive, I have a master folder for the wedding; for example, if the wedding is on December 03rd, 2022, I label the master folder is called 2022-12-03. In this master folder, I create several subfolders:

2022-12-03 RAW: it's where I keep all of the original, unedited photos from the day.
2022-12-03 Tagged: This is where I put all the photos that I picked to edit.
2022-12-03 Lightroom Catalog: This is where I export the Lightroom catalog, a database of photos I can edit.
2022-12-03 JPEG: In this folder, I’ll export the finished photos, which will be in a JPEG file format and ready to be uploaded to your wedding gallery.
After I've created all of my folders, I copy the files to the folder labeled 2023-01-14 RAW. This way, I always have a copy of the original, unedited photos.
The second hard drive that I back up the wedding photos is a 4 TB LaCie Rugged hard drive, This is a backup drive to my working drive, and I don't edit on this drive. All the photos go into a folder labeled 2023-01-14, and inside that folder, I create a folder called 2023-01-14 RAW.
It's essential to have multiple backups of your wedding photos. Using an offline backup process, I can ensure that your wedding photos are safe and secure, even if something happens to the original memory cards.
For online backup, I upload the photos to a cloud-based service such as Box.com, Dropbox, or Google Drive. This way, even if something happens to the physical copies of the pictures, I still have access to them. This way, I still have the images backed up remotely, even if my computer crashes.
How To Selecting Which Photos To Edit
When selecting which wedding photos I want to edit, there are several factors to consider. The first and most important factor is which photos I need to tell the story of your wedding day. Next is the technical quality of the photo. This includes things like proper exposure, focus, and composition. If the photo is a key photo that needs to be in the collection of images to tell the story but isn’t technically the best, I still will include it because, for me, it's all about the story.
Photos that I’m looking for to tell the story of the wedding day include some basic photos like photos from the ceremony, toasts, first dances, and all the generic stuff people think about when they think about wedding photos. I’m also looking for moments in between those big moments. Those little candid moments that no one really plans or can even anticipate. Those photographs are the most interesting from the day.
Culling is the process of selecting the best photos from your wedding day. It's an essential step in editing, allowing me to choose the images that will shape the story. I use Photo Mechanic software to select the ones I want to edit.
Photo Mechanic is a powerful and efficient photo-culling software that professional photographers widely use. It allows the user to scroll through pictures at high speed, tag and rate photos, and perform other essential tasks to help streamline the editing process. This software is designed to help me quickly and easily sort through thousands of pictures and select the best images for further editing.
One of the key features of Photo Mechanic is its ability to view and organize large numbers of images quickly. It allows me to view photos in various ways, such as thumbnails or full-screen previews, making it easy to find the best shots rapidly. The software also lets me tag and rate pictures, which can be a helpful tool for quickly identifying the best images from a shoot.

Here are the steps I use to cull wedding photos using Photo Mechanic:
Import the pictures into Photo Mechanic: The first step is to import the images into the software. I will drag the folder from my master catalog labeled 2022-12-03 RAW to the software logo, and all the wedding pictures in that folder will appear. Here are the steps I use to cull wedding photos using Photo Mechanic:
Review and rate the images: Once they have been imported, you can start reviewing them. As you scroll through the pictures and come across a photo that you want to edit later, you can tag the photos by tapping the letter T on the keyboard.
Sort and filter the images: Once I’ve tagged the photos, I filter them by going to “view” > “tagged.”

5. Select the tagged photos: After I’ve sorted by tagged images and filtered. I select all the tagged images by holding down the "Shift" key while clicking on them all the photos.

6. Export the selected images: Once I have chosen the best pictures, I drag all the photos into the subfolder “2022-12-03 Tagged”.
By following these steps, I can quickly and efficiently cull photos in Photo Mechanic, making it easy to select the best images for further editing in Adobe Lightroom.
How To Edit Wedding Photos In Lightroom
When documenting a wedding day, I try to photograph the wedding accurately and honestly. That philosophy carries over to the editing. When I edit the photos to look as accurate and natural as possible, I will adjust to technical issues, such as exposure, contrast, and color balance. To improve the composition of the image, I’ll crop and may make adjustments to improve the overall aesthetic appeal of the photo. I avoid manipulation that would compromise the picture's integrity or the story it tells.
Once I cull the wedding photos down to the best collection of images that tell the story of your wedding day, I bring them into a program called Adobe Lightroom. Lightroom is my go-to editing software, and in this post, I'll give you an inside look at how I use it to edit and organize wedding photos.
The first step in the editing process is to import the selected photos into Adobe Lightroom. Before I begin editing, I build a smart preview of each photo. Smart previews allow me to work on a compressed file version, which helps speed up the editing process and prevents my computer from slowing down.
Once the smart previews have been built, I export the Adobe Lightroom Catalog to the folder called 2022-12-03 Lightroom Catalog. This catalog contains all the photos I selected and will be used to edit the images.
I then close Adobe Lightroom, open the Lightroom catalog I just exported, and start the editing/color correction process.
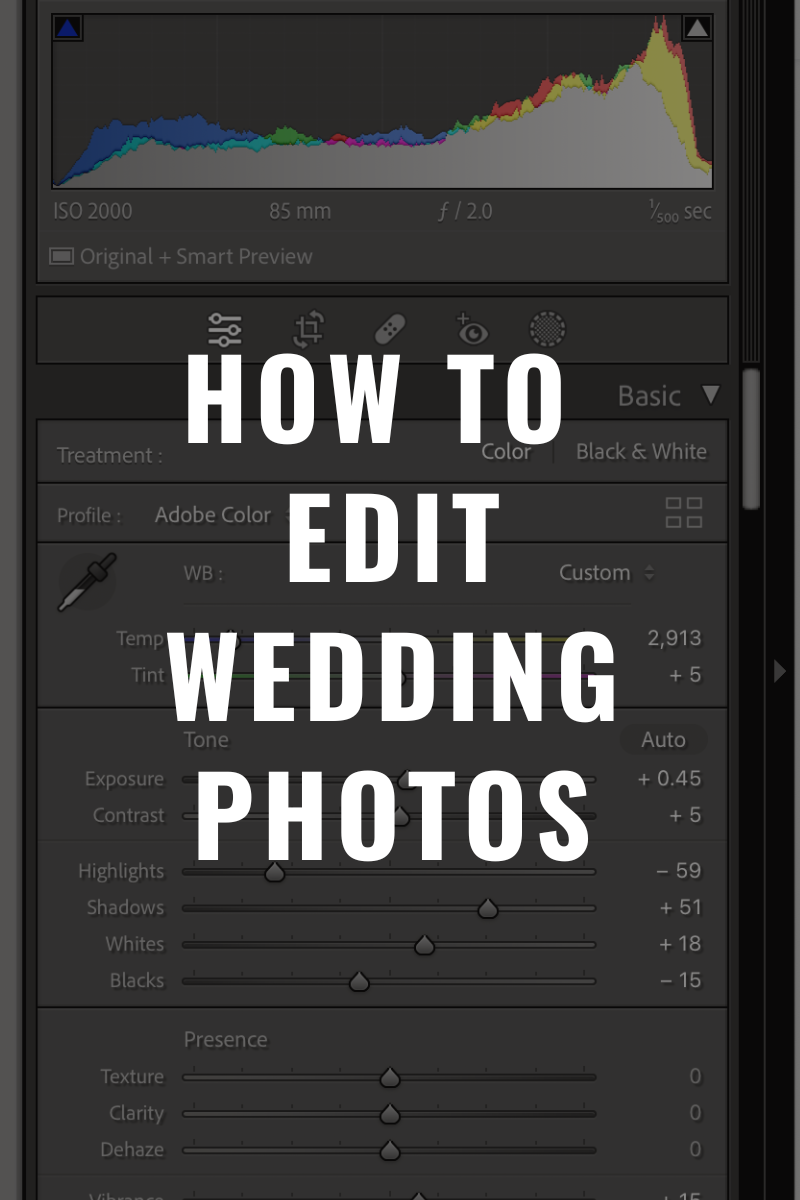
How I Color Correct My Wedding Photos
Color correcting a wedding photo in Adobe Lightroom refers to adjusting the colors in a photo to make them look more accurate and natural. This process involves using various color adjustment tools and sliders in Lightroom to fine-tune the colors in the image.
When color correcting a photo, the goal is to adjust the colors to look as close as possible to how the scene looked when I photographed it. This can involve adjusting various sliders and settings, including
White Balance: Adjusting a photo's white balance can help remove any color cast that may be present in the image. This can be done by using the White Balance sliders in Lightroom, such as Temperature and Tint, to neutralize the colors in the image.

Exposure: Adjusting the exposure of a photo can help to bring out the details in the highlights and shadows. This can be done using the Exposure slider in Lightroom to lighten or darken the overall image.

Highlights and Shadows: The Highlights and Shadow sliders in Lightroom can adjust the brightness of the brightest and darkest parts of the image.
Black and White Points: Adjusting a photo's black and white points can help set the correct tonal range of the image. This can be done by using the Black and White sliders in Lightroom.
Tone Curve: The Tone Curve in Lightroom allows you to adjust the brightness and contrast of different tones in the image.
Hue, Saturation, and Luminance: These sliders allow you to adjust the color, saturation, and brightness of specific color channels.By adjusting these various sliders and settings in Lightroom, I can fine-tune the colors in a photo to make them look more accurate and natural. This process is called a color correction, and it's an essential step in the editing process, as it helps to ensure that the final images look as close as possible to the scene as it was when it was photographed.
How I Reduction Noise In A Wedding Photos
Digital Noise is an artifact that appears in photos as speckled grain or discoloration. It can be caused by a variety of factors, such as high ISO settings, long exposure times, or shooting in low light conditions. Noise can be especially problematic in wedding photography, as many wedding photos are taken in low light settings and need to be brightened up in post-processing.
Several different types of software can be used to reduce noise in a photo; I use Adobe Lightroom to minimize the noise in my wedding images. Noise reduction in Lightroom is done by using the noise reduction tools that are built into the software. These tools allow the photographer to reduce the amount of noise in an image while preserving as much detail as possible.
The most common noise reduction tools I use in Lightroom are the Luminance and Color sliders, both found in the Detail panel. The Luminance slider can be used to reduce the amount of grain or speckling in an image, while the Color slider can be used to reduce color noise, which appears as discoloration in a photo.
Using the Luminance and Color sliders, I can fine-tune the amount of noise reduction applied to my wedding images and find the right balance between noise reduction and preserving image detail.
It is important to note that noise reduction can affect the sharpness of a wedding photograph, so it is crucial to use the sharpness tools in Lightroom to counterbalance the loss of sharpness after noise reduction.

How I Sharpen Wedding Photographs
I sharpen my photos in Adobe Lightroom to increase the image's level of detail and clarity. Sharpening is an important step in the editing process because it can help me bring out the details in your image that may be hidden due to camera shake, motion blur, or other factors.
Lightroom has various sharpening tools that I can use to sharpen my images. The most commonly used tool is the Sharpening tool, which is located in the Detail panel.
The Sharpening tool in Lightroom consists of three sliders: Amount, Radius, and Detail. The Amount slider controls the overall strength of the sharpening effect, the Radius slider controls the size of the details being sharpened, and the Detail slider controls the level of detail that is emphasized by the sharpening.
When using the sharpening tool, I typically start by adjusting the Amount slider to increase the image's overall sharpness. Next, I’ll adjust the Radius slider to control the size of the details being sharpened and the Detail slider to control the level of detail emphasized by the sharpening.
It's possible to over-sharpen a photo. You’ll notice over-sharpening when there is a halo or unnatural artifacts around the edges. After I sharpen a photo, I’ll zoom to 100% and ensure everything looks good.
Overall, using sharpening in Adobe Lightroom is an essential step in my wedding photo editing process, as it helps to produce high-quality, sharp images for you.
Where I Upload My Wedding Photos
Once the last photo has been edited, I export JPEG photos from Lightroom to the subfolder 2022-12-03 JPEG. I rename each image, for example, 2022-12-03-Sarah-and-Mike-0001. After the files had been exported and renamed, I uploaded them to Pic-Time.com. Pic-Time is a website and software that allows me to create password-protected galleries of your photos so you can share them with your friends and family, download high-resolution files, order prints and albums, and much more.

How to Edit Wedding Photos — FAQs
What software is best for editing wedding photos?
Most pros use Lightroom Classic for speed, consistency, and batch control. Photoshop is added for detailed retouching, while some prefer Capture One for color rendering—choose based on your workflow and look goals.
Should I shoot RAW or JPEG for the best editing results?
RAW is the standard for weddings. It preserves dynamic range and color data so you can recover highlights/shadows and refine skin tones under tricky mixed lighting.
What’s a reliable workflow for editing a wedding gallery?
Back up cards → cull quickly → import to Lightroom → apply base preset to anchor shots → sync across groups → refine skin tones and exposure → export sRGB JPEGs for gallery + high-res for print → maintain 3-2-1 backups.
How do I keep colors consistent across thousands of wedding photos?
Edit an anchor image for each lighting situation, apply that preset to its group, and sync. Use consistent white balance, then adjust outliers for a seamless gallery look.
What’s the fastest way to correct skin tones?
Start with white balance eyedropper on something neutral, refine Temp/Tint, then adjust orange/red HSL sliders subtly. Add selective masking for tricky lighting shifts.
How do I handle mixed lighting like tungsten and DJ LEDs?
Correct white balance scene by scene, tame color casts with HSL and local adjustments, and convert to black & white if necessary. Using on-camera bounce flash at capture helps simplify editing later.
What’s the best way to cull a wedding before editing?
Use culling software like Photo Mechanic or Aftershoot to flag keepers quickly, reject duplicates and blinks, and reduce the edit set to a tight story-driven sequence.
When should I switch from Lightroom to Photoshop?
Stay in Lightroom for global corrections, noise, and consistency. Move to Photoshop for object removal, advanced skin work, composites, or complex retouching requiring layers and masks.
What export settings work best for clients?
For online galleries: sRGB JPEGs, 3000–4500 px long edge, medium-high quality. For prints: full-resolution sRGB JPEGs (or TIFF if lab requires) with output sharpening matched to size.
How do I back up my edits safely?
Follow 3-2-1 backup: three copies on two different media types, with one off-site/cloud. Keep working files on SSD, clone to external, and mirror to a secure cloud after each session.
Conclusion:
Editing photos is a crucial step in wedding photography; it takes a ton of time to edit a photo properly. By using the RAW file format, backing up photos, culling, and editing in Adobe Lightroom, I can ensure that the final images from your wedding day are of the highest quality.
More Wedding Photographers Resources